|
|
|
|
|
|
|
|||
|
518288-LLP-1-2011-1-IT-COMENIUS-CMP Clockwork objects, enhanced learning: Automata Toys Construction in primary education for Learning to Learn promotion, creativity fostering & Key Competences acquisition, with the Education, Audiovisual and Culture Executive Agency. |
||||
|
This project has been funded with support from the European Commission. This website reflects the views only of the author, and the Commission cannot be held responsible for any use which may be made of the information contained therein. |
with the contribution of |
 |
||
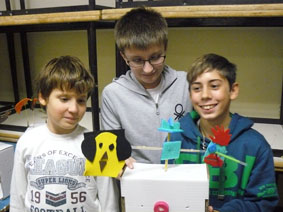
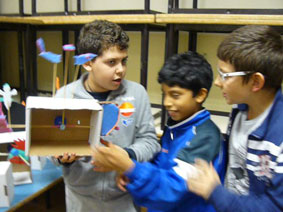
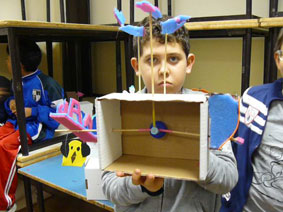
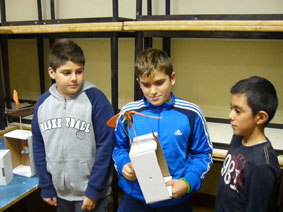
1st Piloting - Alivola - Step 3 - Photo & Video
 |
 |
 |
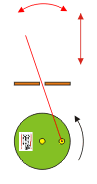
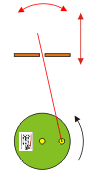
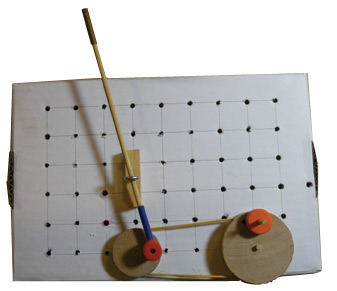
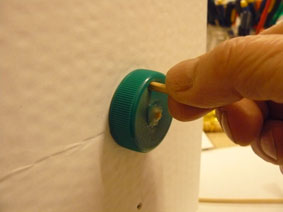
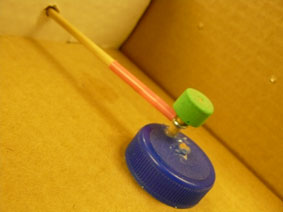
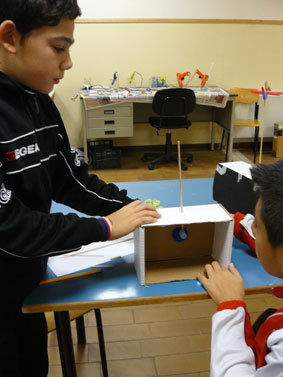
| 1 - This is the mechanism to discover today: low and high cranl slider. The stick is attached to the wheel in an eccentric way and passes through a hole. The lower the hole and the more extensive will be the lateral movement of the stick. |
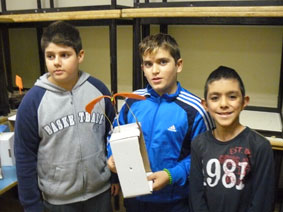
2 - Take a look at our tablet, but also to automata already built. Click
on these two links:
low crank e
high crank. This mechanism is important, half of the artists use it. We will come back to this mechanism at the end of the first part of the workshop. |
3 - Start of the third day of the workshop. The school teacher Stefania Cesare introduces the third mechanism, "CAM", which continues, in presentations, to be concealed. Will be revealed only when the kids have exhausted all cases ... |
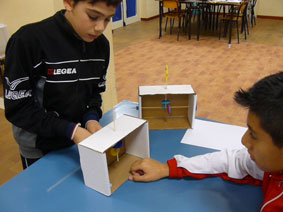 |
 |
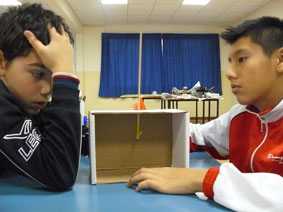 |
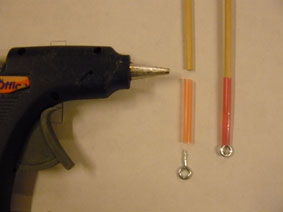
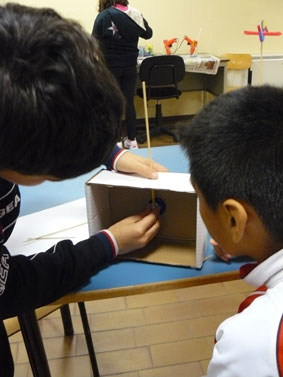
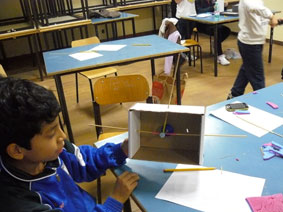
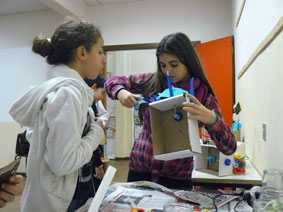
| 4 - The first thought is always to automata have already been built in the previous days. | 5 - We gave each of them a special stick, prepared before, with a screw ring at the end. Stick and screw ring are heat-bonded in the straw. | 6 - The stick is inserted in the box, and after several attempts with the materials the mechanism is guessed. |
 |
 |
 |
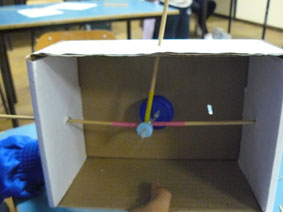
| 7 - The outer wheel and the inner wheel are identical: they are interconnected by a central stick and each has a small "stick off-center". | 8 - On the outside of the box the little "stick off-center" is used to spin the wheel, holding it between two fingers. | 9 - While in the inner part of the box to the small "stick off-center" will be attached the ring of the "stick with the ring at the end", locked by a washer. |
 |
 |
 |
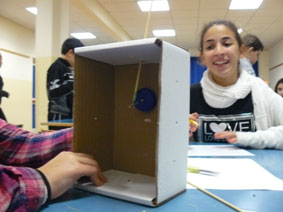
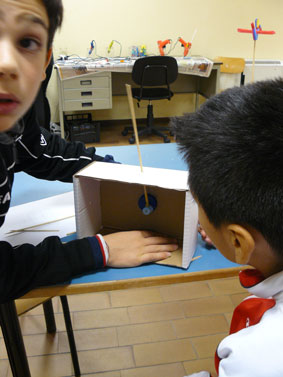
| 10 - The small washer means that the stick does not come out of his seat. | 11 - It 's all ready, and the kids do a test: the mechanism works! | 12 - They try to run it to see if all goes well after a while... |
 |
 |
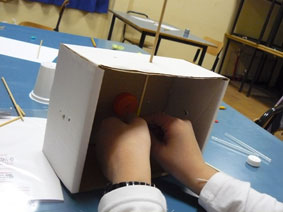 |
| 13 - This group of kids attached three sticks on the axis. | 14 - So we have three moving parts! | 15 - It 'been an hour since the beginning and all the mechanical parts are in place. |
 |
 |
 |
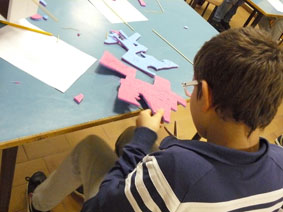
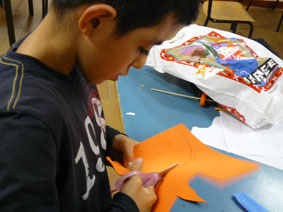
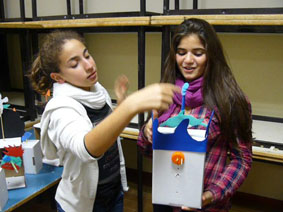
| 16 - The kids begin to create the characters and the decoration. | 17 - It seems that imagining figures with animals is what everyone prefers. | 18 - The idea of decorating the box as well, and use it as a backdrop, is taking root in a natural way. |
 |
 |
 |
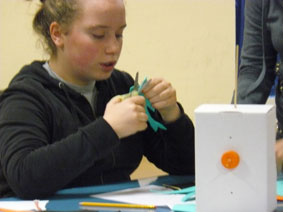
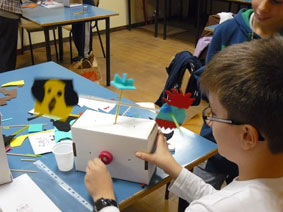
| 19 - The kids have acquired security. | 20 - The time gained is used to process more complex shapes. | 21 - And it also allows those who are not quick to reach the level of the others. |
 |
 |
 |
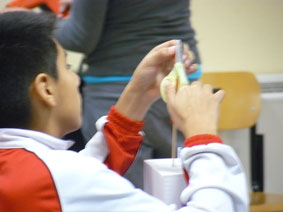
| 25 - The use of the heat gun is no longer a problem but a resource, both for them and for us and our fears ... | 26 - ... even if the glue leaves wires everywhere, but today we have protected the tables with a beautiful paper. | 27 - There is always something that is very important to quickly add, |
 |
 |
 |
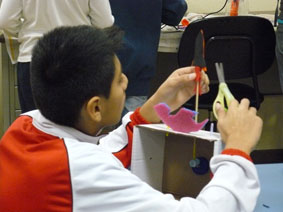
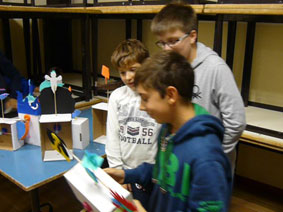
| 28 - before the final presentation. | 29 - And here is the first group: a dog and | 30 - a rooster are in equilibrium, at the ends of a stick. |
 |
 |
 |
| 31 - Here three characters, but with three sticks in motion. At the center of a bird with wings separated from the body, receding and | 32 - close to each turn of the handle, to one side the initials of the names and on the other side a car with a true piston functioning. | 33 - Here is another innovation: the horse has wings in motion, and is the first automata using a "bonded" mechanism. |
 |
 |
|
| 34 - The authors have the right to be proud of! |
35 - And here a dolphin in movement between the waves of the sea. Here,
too, an innovation: the box - scenography becomes co-star of the scene. |
36 - Some automata are "escaped", but you will see the images in this video. |
